ASCII Booth
Nostalgic archaic technology — the dot matrix printer — is recontextualized as an instant ASCII art selfie booth.July 1, 2019 · Make your ownKickoff
Once again, friend and frequent collaborator Zeke Wattles approached me with a fun project - we were going to build an ASCII art photo booth. After Zeke's Dublab concept project, he arranged a visit to the Dublab studio to share the work. They had recently announced a new website and brand look, but they liked the energy and wanted to collaborate on something real.
Ale loved the dot matrix printer but wasn’t convinced by the poster generator. He asked if we could turn it into a photo booth. We didn’t know how we would do it, but we decided to give it a shot.
ASCII
The ASCII art is both aesthetic and functional. Dot matrix printers are designed for printing plain text documents. We wanted to hack this text-only printer to produce images, and ASCII was a clear path forward. We also wanted it to be fun and interactive, so realtime image manipulation was a must.
We use JavaScript to convert the webcam image to ASCII characters based on pixel brightness.
Interface
The interface shows users what will print in realtime. When the user is ready, the push a button and the image is momentarily paused to visually represent the "snapshot" effect. The plaintext file is appended with some nice footer text and downloaded to the user's computer.
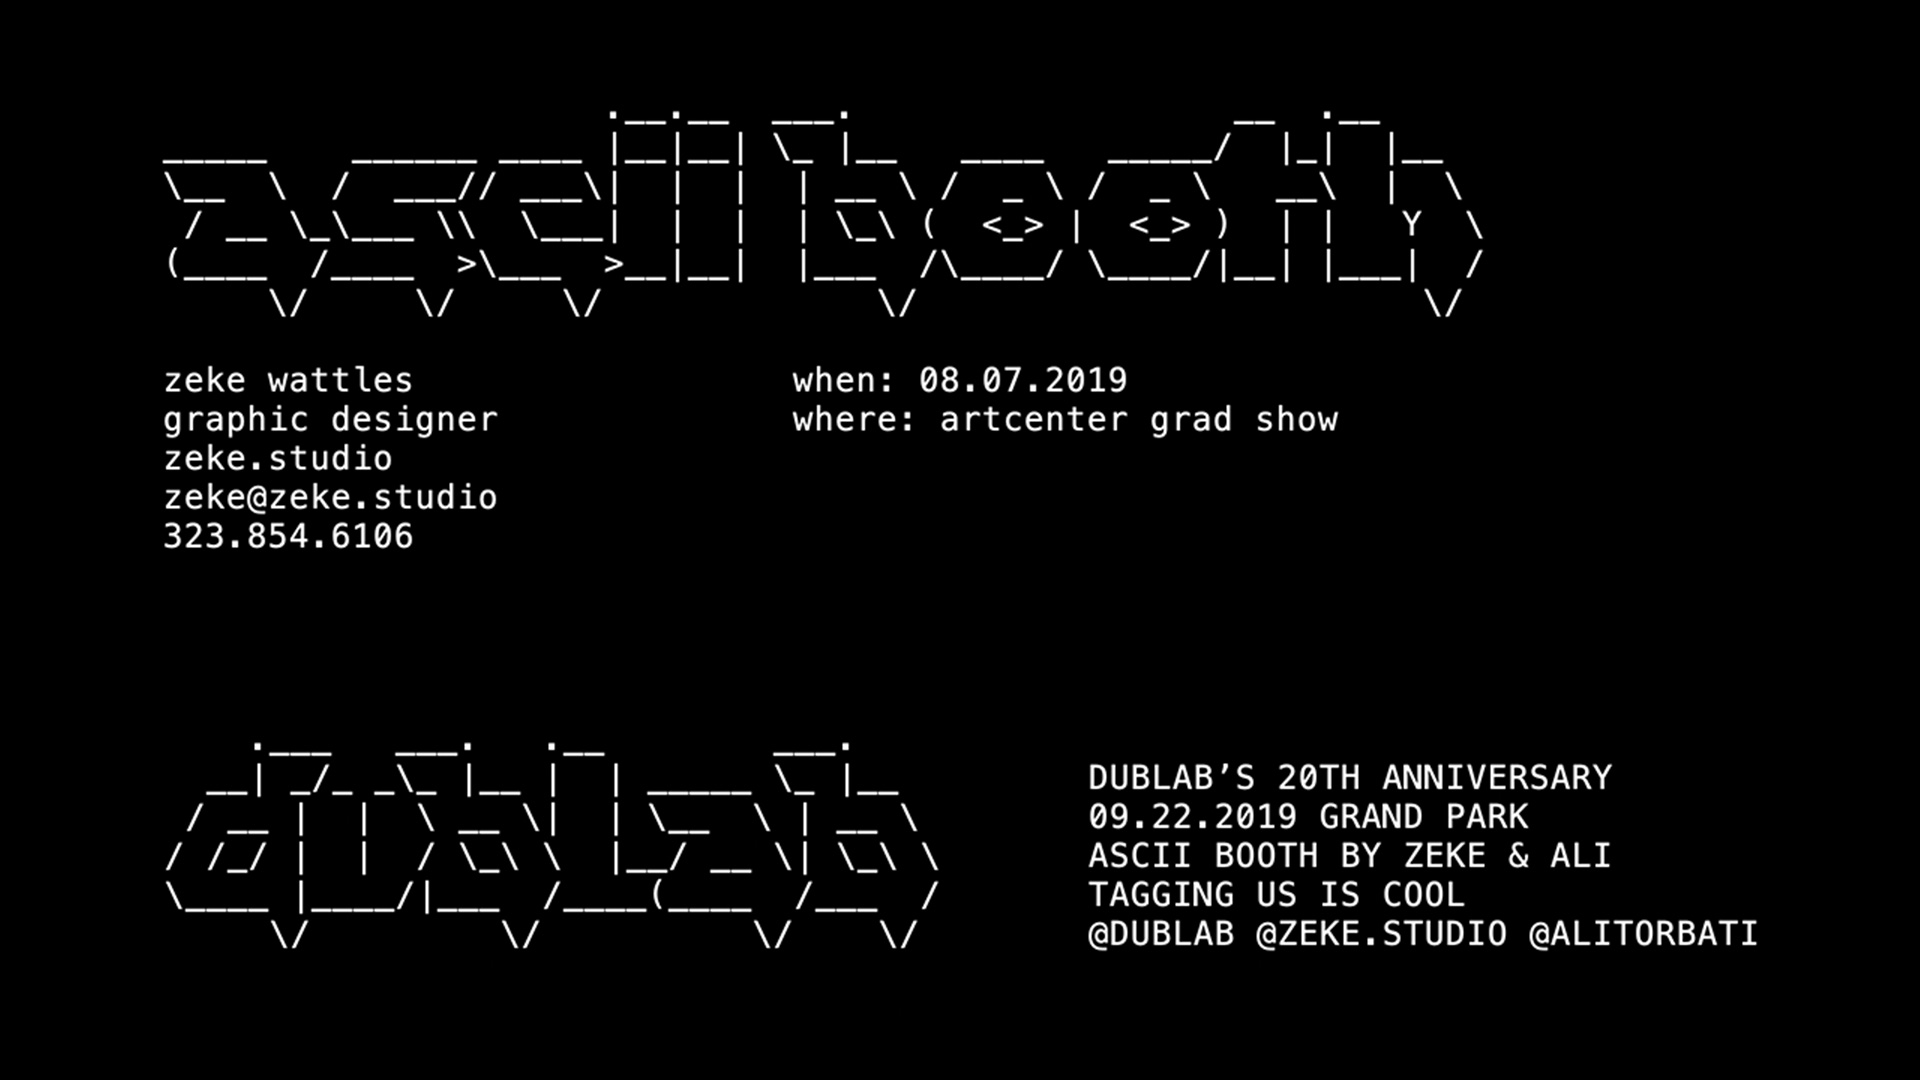
Since the whole document is text, there’s a unique opportunity for messaging: event name, location, time, sponsors, secret codes, ASCII logos, etc. The footer can be changed for each event.
Physical build

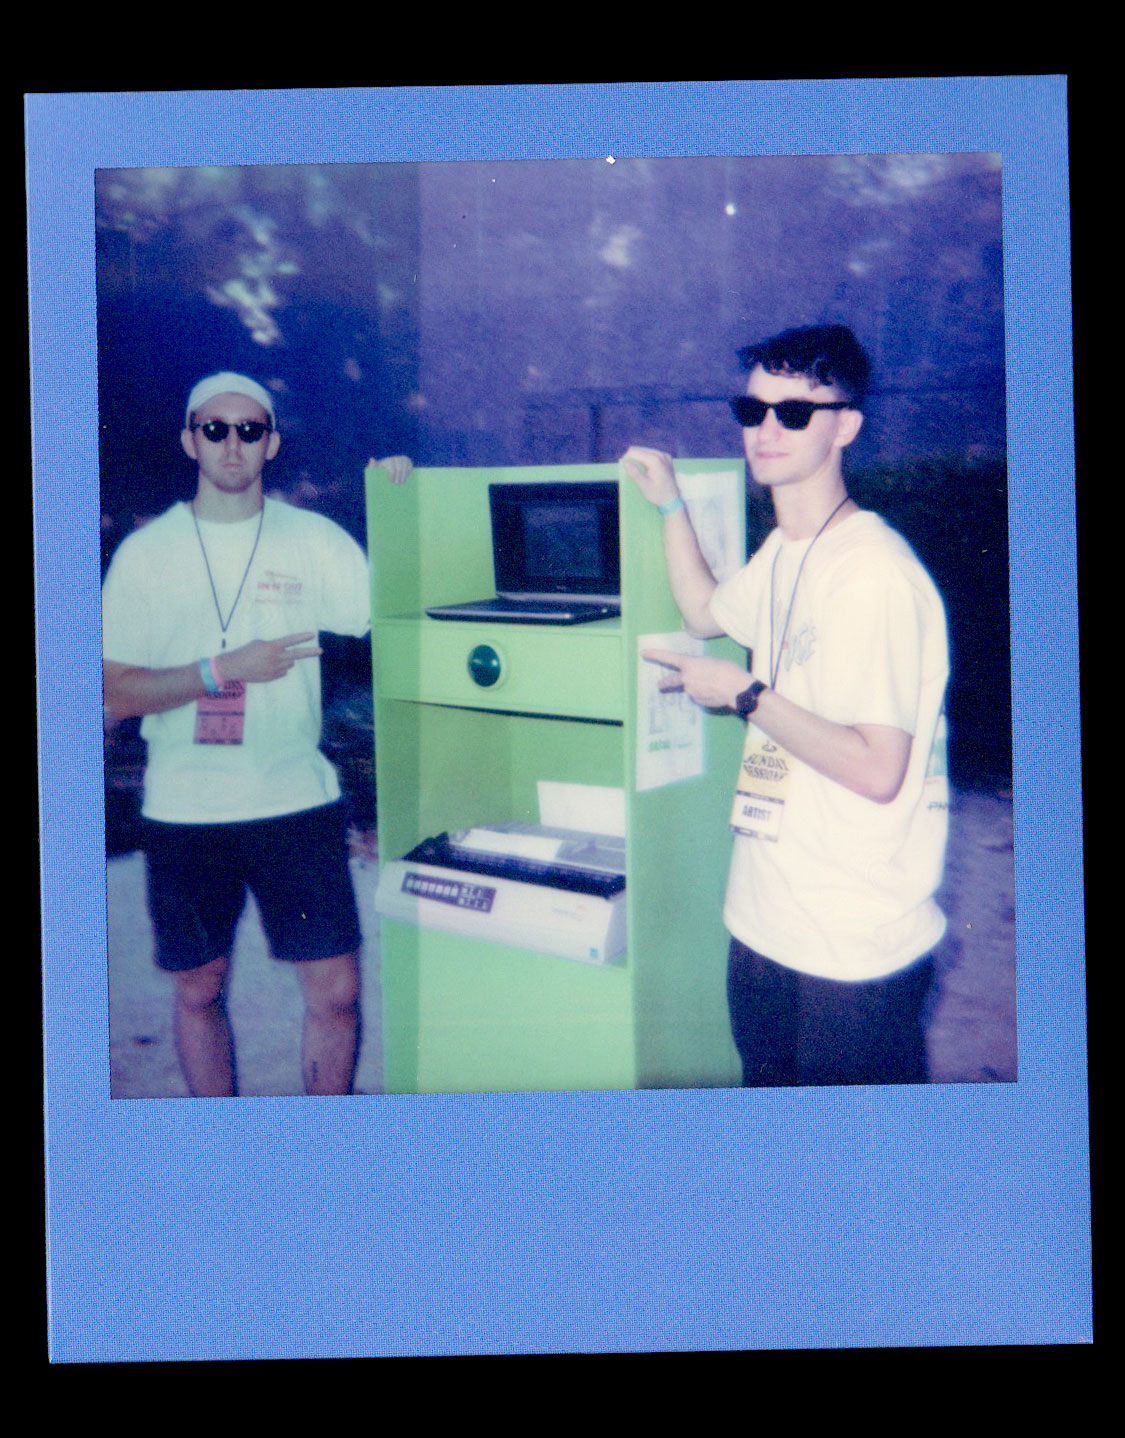
Zeke built the booth out of MDF to fit the dimensions of the printer. A set of caster wheels at the bottom makes it easy to transport. The booth is built like a shelving unit, with flat shelves for the laptop and printer, and a drawer between to house the button and hide the Arduino and wiring behind it.
The booth has a big, juicy green button that interfaces with the computer through an Arduino. When the button is pressed it mimics the keycode produced by the space bar. That space bar keycode is being watched by the application, and is used to trigger the snapshot download.
Finally, the laptop is watching the Downloads folder for new plaintext files. When a file hits the folder, a print job is kicked off and the booth starts printing. One fun quirk of the printer is that it can only be operated from a Windows machine, so that limitation presented some fun challenges along the way. Fortunately the webapp code is simple enough to be run in basically any browser, but scripting the print job stuff was a bit tedious.
Ultimately, we were able to create a single-button experience that is easy to explain to new participants in just a few seconds.
Hello, world
Run 0: ArtCenter grad show
The ArtCenter Grad Show is a chance for hardworking students to display the work they feel best represents them, and hopefully will land them a job. The ASCII booth was the most Instagrammed part of the grad show and there were crowds around for the whole event.
The Grad Show was the first real user testing for the booth. Zeke operated the booth by himself, and it was a great to display the amazing work he produced at ArtCenter.
Run 1: Bedrock LA
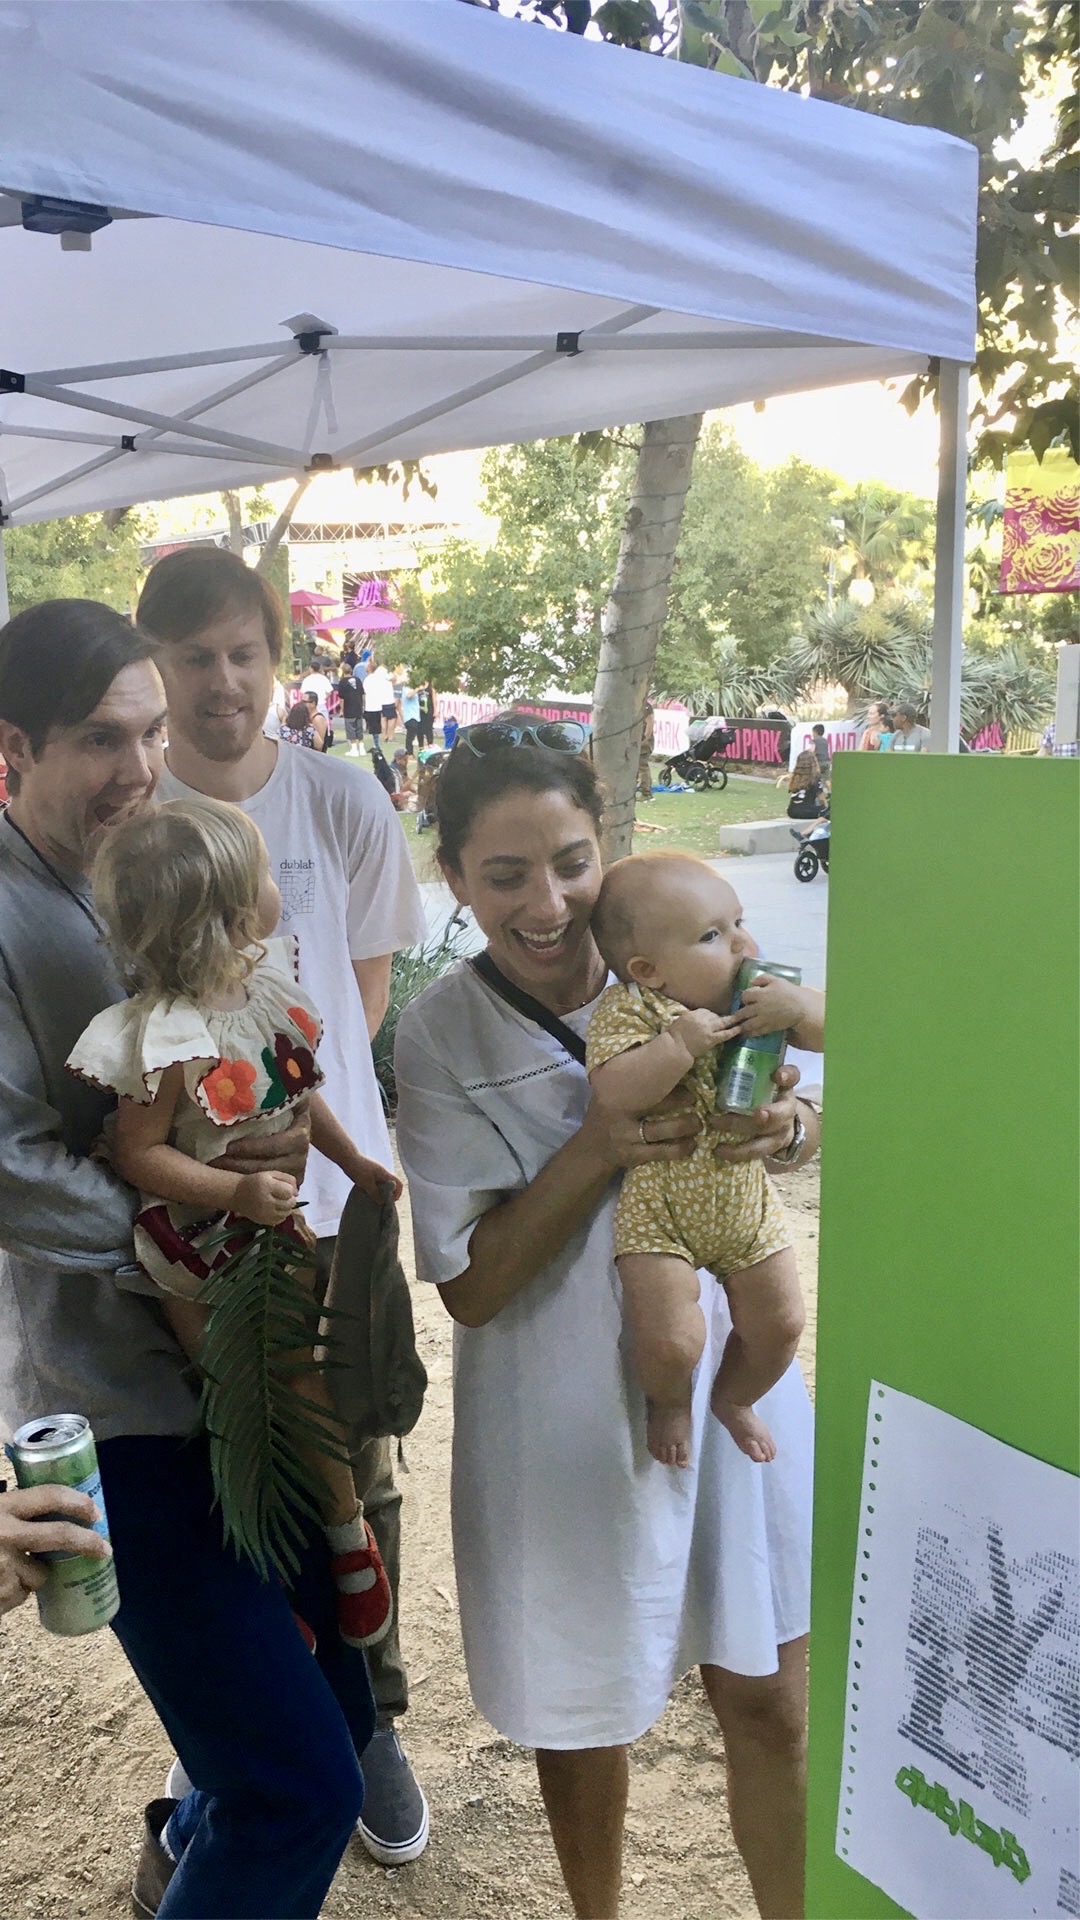

Dublab was celebrating their 20th Anniversary Weekend in September 2019. Day 1 was at Bedrock LA, and day 2 was at Grand Park.
For the Dublab event weekend we operated the booth together. Here are some of the problems we solved in the field:
- There was a bug with photos double-printing, or not at all. It turned out to be an issue with Chrome in full-screen mode, so our quick zero-day solution was to just maximize the window instead of running it full-screen.
- When we prototyped the booth, the “print” button was a UI element on screen accompanied by text instructions. When we added the Arduino button and told people to “press the big button”, many users were confused as to which button we meant — physical or UI? The solution was to remove the UI button and all text instructions. Since there was nothing to read or understand the only action became clear: press the big button.
- Users frequently asked “what is this?” and “how does this work?” Initially, we gave a long explanation. By the end of the weekend, our verbal instructions and explanations had organically morphed into something super quick and simple that anyone could understand.
Run 2: Grand Park Sunday Sessions

By Sunday we had really figured it out. We operated the booth with way fewer kinks, and tons of people got to use it. For the first time we had it out in a fully open, public space, and the public reception was amazing. People had so much fun!
The future
Dublab has expressed interest in doing more events. A permanent home in a public/retail space would be great, too.
With a larger budget, the booth 2.0 would:
- Use a built-in screen connected to a Raspberri Pi instead of a laptop.
- Have a built-in flash or ring light.
- Be self-sufficient. Currently, the dot matrix printer can jam unpredictably and a booth operator needs to be present.